
Mike held up a 2-pound box of blueberries at Fred Meyer hopefully and requested a Pavlova for dessert. I couldn’t say no. I’ve made a lot of pavlovas and I seem to use a different recipe every time. This time … Continue reading
Mike held up a 2-pound box of blueberries at Fred Meyer hopefully and requested a Pavlova for dessert. I couldn’t say no. I’ve made a lot of pavlovas and I seem to use a different recipe every time. This time … Continue reading

Yummy Soy Eggs
I eat 2 boiled eggs for breakfast most days, but they can get a bit boring sometimes. I love the soy eggs that come with ramen, so decided to make a sort-of version of that. I looked at David Chang’s recipe and followed the instructions, but decided to make mine a little more vinegary because I like things tangy. I did not have sherry vinegar so I used a combo of rice vinegar and black vinegar. I subbed Mirin for sugar because I love it.


Play around with the proportions till you get the flavor you like.
I brought a pot of water to boil and added 6 eggs, set a timer for 7 minutes. I stirred the eggs gently for the first 2 minutes to keep the yolks centered. 
When the 7 minutes were up, I scooped the eggs out and put them in an ice bath and waited till they cooled. I peeled them under water and plopped them into their soy bath.
I let them sit in the fridge overnight and ate two for breakfast with a sprinkle of togarashi.
They were pretty tasty and made my breakfast a little more exciting than usual. They were salty and tangy with perfect, jammy yolks.
When these are gone, which will be soon, I’m going to keep the marinade for the next batch.
 My step-dad gave us some rhubarb from his garden and it is too hot to make pie. I had recently noticed a Facebook Post about rhubarb ice cream but it involved lots of eggs and custard-making which sounded too fussy for me. I’m lazy.
I looked around the web and found this recipe from Taste of Home. I only changed it a little, because I am incapable of following a recipe without changing anything.


I’m sure roasting the rhubarb would produce a greater depth of flavor but I did not want to turn on the oven in this heat so I just cooked it on the stovetop with the sugar. I cut the sugar in half because I knew I was going to use crystallized ginger instead of fresh because I love it. I added a little honey too.


3 cups sliced fresh rhubarb
1 cup sugar
¼ cup honey
1 cup milk
1 cup heavy whipping cream
juice of one small lemon
1 teaspoon chopped candied ginger
First I chopped up the rhubarb and tossed it in a pot with the sugar and honey and cooked it on med-low heat till it was saucy. I didn’t time it but I’d say it was 15 minutes or so. Then I put it in the fridge to cool.


I chopped up the candied ginger. When the rhubarb was cool, I stirred in the lemon juice to loosen it up a little, then added the milk and cream. I stirred in the ginger and loaded it into my Cuisinart ice cream maker. So easy!!


I’m going crazy with the asparagus this year. My step dad is giving us a ton that he’s growing out on Sauvie Island and it’s been only $1.99 a bunch in stores lately. I’m used to San Francisco where asparagus … Continue reading
 Hey! Sorry It’s been so long. My husband and I packed up our bags, said goodbye to our tiny basement apartment in San Francisco and moved back to my hometown of Portland Oregon.

After living in San Francisco for over 20 years, it was a bit overwhelming to move our entire lives back up here. Lucky us, we arrived at the beginning of one of the worst winters the Northwest has seen for decades. Our first day in our new house it snowed several inches, which was very exciting for my hubby as he had never lived anywhere it snowed. We were enjoying the winter-wonderland, White Christmas of it all for a while. We cut down and decorated our first Christmas tree as a couple.
One day we got an entire foot of snow and Mike got to build his first snowman (it was a snow lady with big boobs and beet-red lips.) But the charm wore off and the relentless grey, cold, snow, and rain, rain rain, eventually bummed us out.
But now it’s finally SPRING!! Our garden is growing, birds are singing, flowers are blooming and I’m so happy we’re here!
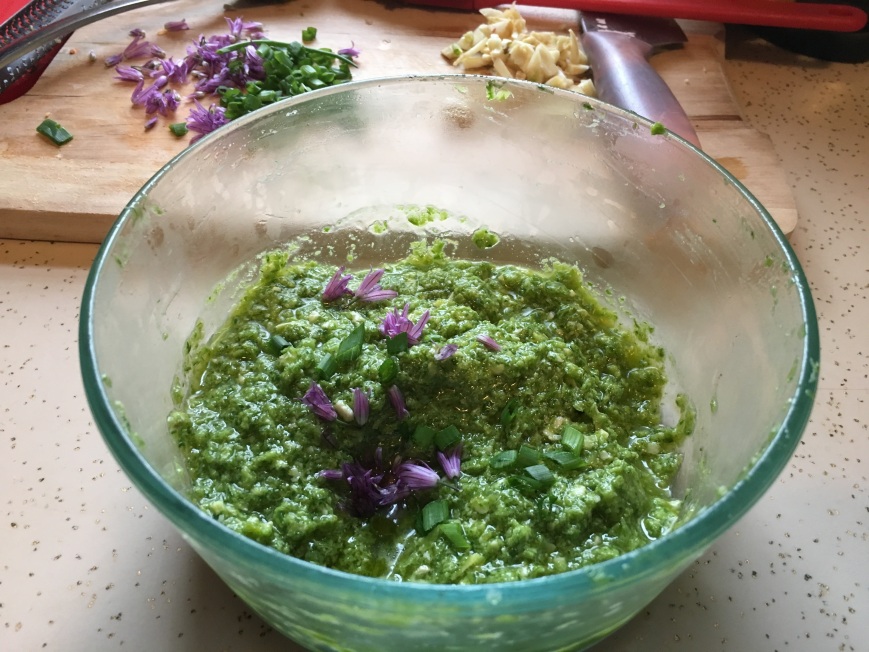
My stepfather’s garden is producing all kinds of goodies which he has been sharing with us. Last week he gave us a giant shopping bag full of chives. They were gorgeous but I was not sure what to do with all of them. I mean, how many baked potatoes can one eat? Then it occurred to me – chive pesto!
I’d never made it before and I didn’t have any nuts or other herbs but I did have a chunk of parmesan, lemons and some fancy olive oil. So I grated the parmesan in my Cuisinart and set that aside.

Fancy
Then I threw a few big handfuls of chives, a clove of garlic, a sprinkle of salt, and the zest and juice of half a lemon to the bowl of the food processor and pulsed for a while. I started streaming in the olive oil, occasionally scraping the sides down, until it was a nice consistency. When it was ready I poured it into the bowl with the cheese and stirred it up. I sprinkled a few of the chive blossoms on top and it was gorgeous! I served it with steak, roasted spring onions and new potatoes.
Not sure what it is but I like it!
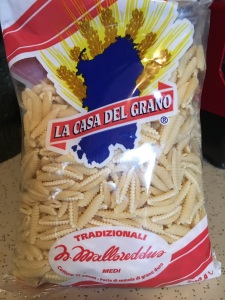
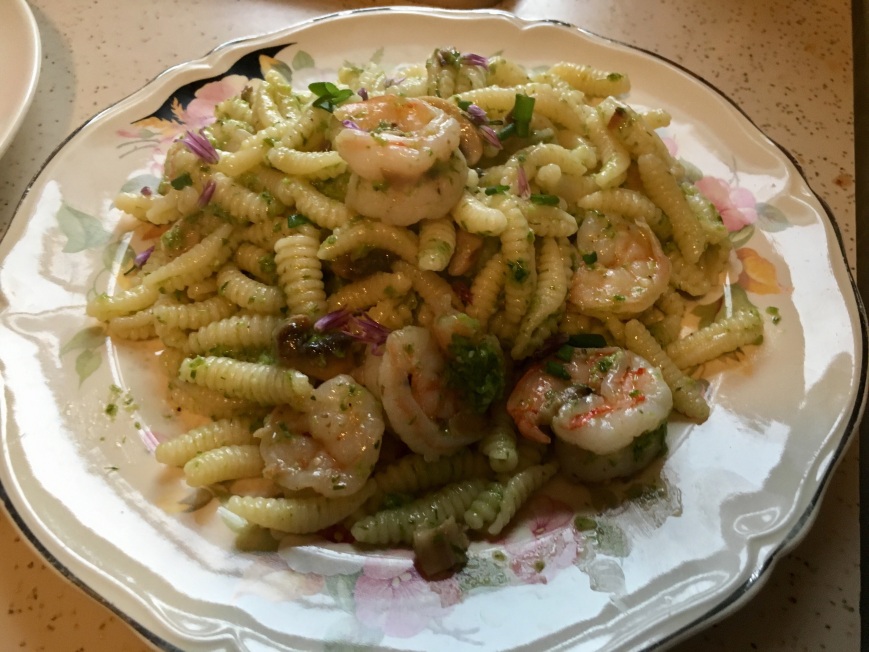
The pesto was such a hit I made it again for my BFF a few days later. This time I went out for supplies so I had more to work with. I also picked up some fancy pasta – I think it’s called Gnocchetti sardi but not 100% sure. So the second batch of chive pesto was more complex
It was delicious as well. It’s pesto, you can kind of do what you want with it. If you want to make it vegan you could use all nuts and no cheese and it would be just as good.
So for lunch with my friend Darla, I made the fancy pasta with shrimp, mushrooms, and chive pesto.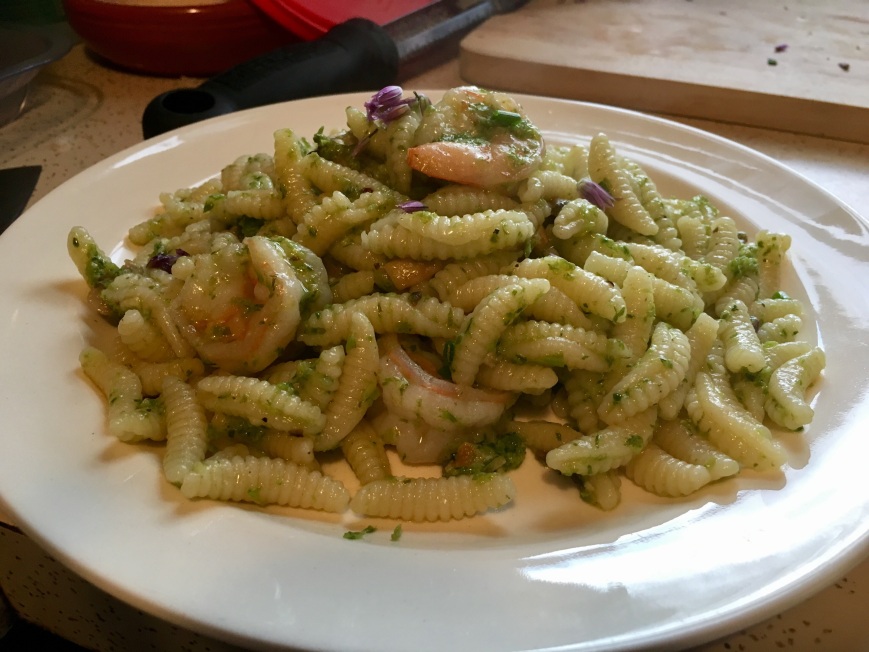
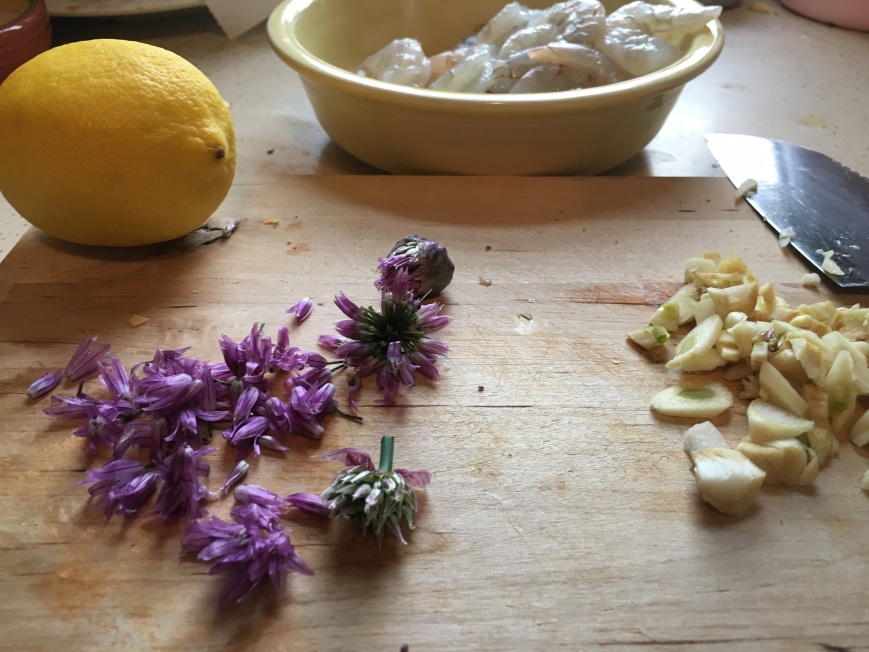
I sautéed garlic and red pepper flakes in olive oil for just a few seconds, then added the mushrooms, sautéed for about two minutes and then tossed in the shrimp.


I cooked them until they just started turning pink, I really didn’t want to overcook them.


Then I squeezed in half a lemon and added a splash of white wine. I scooped the pasta into the pan with whatever pasta water came with it, turned the heat off and just stirred it till it was all mixed together. I kind of stirred and shook the pan a bit for a few minutes just to cool the pasta down. I didn’t want it to be so hot that the cheese in the pesto completely melted.

I stirred the pesto into the pasta and served it up. It was a great lunch for a sunny spring day!
P.S. It was even better cold. I made the same dish a few days but with peas instead of mushrooms and it was super springy and fresh so I think that would be a lovely pasta salad. I’ll have to do that next.

OK, I know these aren’t the best photos. This dish felt really fancy and I wish I’d taken more care to plate it in an attractive way but I was really hungry and just wanted to eat. I love the … Continue reading

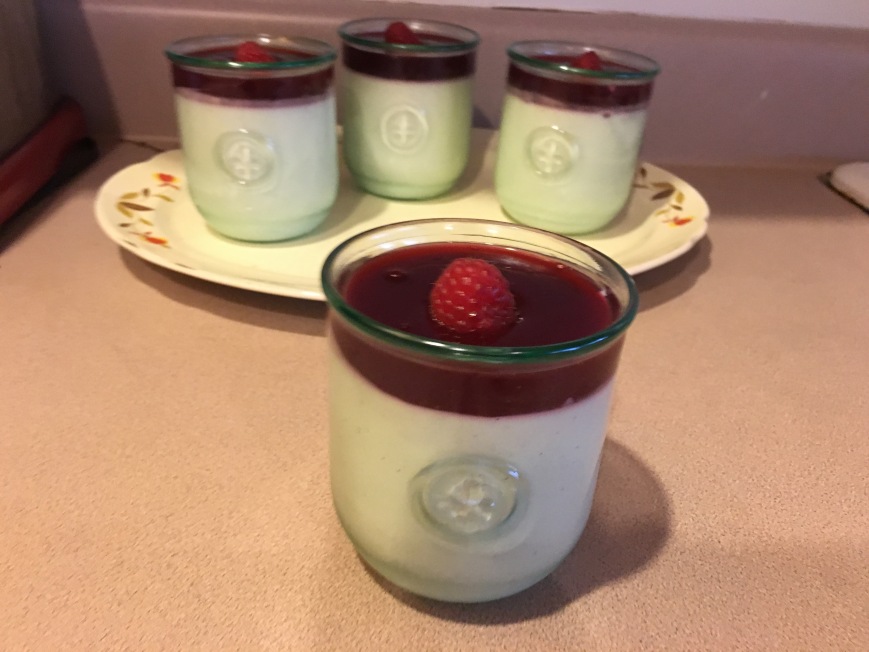
I love Swedish Cream.
Smooth, pure white, creamy richness beautifully balanced by a fresh, tangy fruit sauce is my idea of a perfect desert. I was talking about it with my bestie, Darla a few weeks ago and haven’t been able to stop thinking about it. My husband had never had it and explaining it to him didn’t do it justice. I decided to give making it a try. I looked at a lot of recipes online and decided to try this recipe from Your Home Based Mom
It turned out really well but there are a few things I would change next time. The cream seemed a little sweet to me (hubby liked it the way it was) so I might lower the sugar to about ½ a cup next time, just to suit my personal taste. Also I used vanilla paste that has sugar in it so that could be the problem. I felt the vanilla was a little strong – I might cut that down to just a teaspoon. Using vanilla extract instead would probably solve both these problems.
The other proportions were perfect though; it turned out thick, creamy and smooth.
The sauce is what I would do differently. I would probably use just ¾ c of water and cook it a little less. I liked this sauce but I want something more intensely berry flavored.
It did hit the spot. I should have made servings half the size I did, though. They didn’t look that big to me but Mike and I were both about to tap out about halfway through. It is pretty rich.

Cream
Raspberry Sauce
Mix gelatin into cold water and allow to stand for one minute


Combine whiping cream, sugar and soaked gelatin in a pan.
Cook over medium heat until gelatin dissolves, approx. 5 minutes.
Transfer to a bowl and cool for 15 minutes


Mix in yogurt, sour cream and vanilla.
Pour mixture into individual cups. I used 4 and it was a little too much for one serving. Try 6 or 8. I actually used a wide-mouth canning funnel for this. It worked really well and kept the mixture from getting all over the edges of the glasses.


Refrigerate until firm.
Top with raspberry sauce.Refrigerate until the sauce is a little thicker so it will hold up the berry. It will still fall over easily but it’ll have a bit more support if the sauce is cold.
In a pan combine the berries, water and sugar.

Bring to a boil, reduce heat and simmer for about 20 minutes.
Mash up raspberries pour through a strainer, pressing down on the solids with a silicone spatula to all the remove seeds.
Add cornstarch to remaining 2 Tbsp water, stir until smooth. make suer you get all the lumps out.
Add into raspberry mixture and bring to a boil over medium heat. Stir constantly.
Cook over low heat until reduced down a little.
Cool in the fridge.
Add to top of Swedish Cream.
Here are a bunch of gratuitous images of this decadent dessert just because I’m so excited to know how to make it:


I love all the things you can messily wrap in lettuce or rice paper in Vietnamese restaurants. Inspired by those dishes, I made this up after looking at a million “lettuce cup” recipes online and not finding what I wanted. … Continue reading

We had a potluck at my office and instead of picking something up at Trader Joe’s like I usually do I decided to actually make something. Frozen Puff Pastry makes it easy to make almost anything impressive. A little … Continue reading

This is the easiest salad in the world and it’s so refreshing and delicious I could eat it every day. It is also really good with celery and/or raw sliced mushrooms. Fennel Bulb Salad One or more bulbs … Continue reading
